Dev Guide
Follow the steps below to install the app on your personal Roku device. This will enable you to write code for the app, install the latest beta release, as well as provide app logs to the developers if you encounter a bug.
Developer Mode
Section titled “Developer Mode”Put your Roku device in developer mode. Write down your Roku device IP and the password you created - you will need these!
Clone the GitHub Repo
Section titled “Clone the GitHub Repo”Navigate to where you’d like to install the app then copy the application files:
git clone https://github.com/jellyrock/jellyrock.gitOpen up the new folder:
cd jellyrockInstall Dependencies
Section titled “Install Dependencies”You’ll need node, version 16 at least.
Then, use npm to install dependencies
npm installMethod 1: Visual Studio Code
Section titled “Method 1: Visual Studio Code”We recommend using Visual Studio Code when working on this project. The BrightScript Language extension provides a rich debugging experience, including in-editor syntax checking, debugging/breakpoint support, variable inspection at runtime, auto-formatting, an integrated remote control mode, and much more.
Install VSCode
Section titled “Install VSCode”- Download and install Visual Studio Code
- Install the BrightScript Language extension within VSCode in the Extensions panel or by downloading it from the VSCode Marketplace.
-
Open the
jellyrockfolder in VSCode -
Press
F5on your keyboard or clickRun->Start Debuggingfrom the VSCode menu.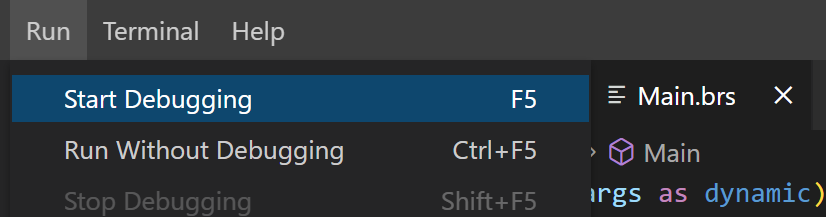
-
Enter your Roku IP address and developer password when prompted
That’s it! VSCode will auto-package the project, sideload it to the specified device, and the channel is up and running. (assuming you remembered to put your device in developer mode)
Hardcoding Roku Information
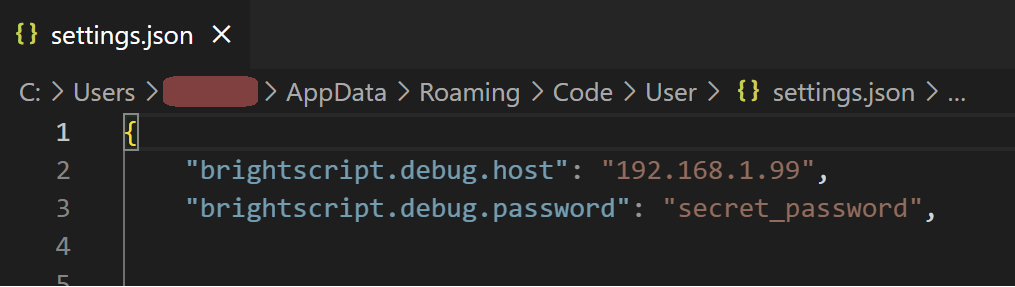
Section titled “Hardcoding Roku Information”Out of the box, the BrightScript extension will prompt you to pick a Roku device (from devices found on your local network) and enter a password on every launch. If you’d prefer to hardcode this information rather than entering it every time, you can set these values in your VSCode user settings:
{ "brightscript.debug.host": "YOUR_ROKU_HOST_HERE", "brightscript.debug.password": "YOUR_ROKU_DEV_PASSWORD_HERE"}Example:
Method 2: Command Line
Section titled “Method 2: Command Line”Workflow
Section titled “Workflow”Modify code -> make build-dev install -> Use Roku remote to test changes -> telnet ${ROKU_DEV_TARGET} 8085 -> CTRL + ] -> quit + ENTER
You will need to use telnet to see log statements, warnings, and error reports. You won’t always need to telnet into your device but the workflow above is typical when you are new to BrightScript or are working on tricky code.
Install Command Line Dependencies
Section titled “Install Command Line Dependencies”Build the package
make build-devThis will create a zip in out/jellyrock.zip, that you can upload on your Roku’s device via your browser.
Or you can continue with the next steps to do it via the command line.
Deploy
Section titled “Deploy”Run this command - replacing the IP and password with your Roku device IP and dev password from the first step:
export ROKU_DEV_TARGET=192.168.1.234export ROKU_DEV_PASSWORD=passwordPackage up the application, send it to your Roku, and launch the channel:
make installNote: You only have to run this command once if you are not a developer. The JellyRock channel will still be installed after rebooting your Roku device.
Bug/Crash Reports
Section titled “Bug/Crash Reports”Did the app crash? Find a nasty bug? Use this command to view the error log and report it to the developers:
telnet ${ROKU_DEV_TARGET} 8085To exit telnet: CTRL + ] and then type quit + ENTER
You can also take a screenshot of the app to augment the bug report.
make screenshotCommitting
Section titled “Committing”The .husky/pre-push hook runs the full lint suite (validate, markdown,
spelling, JSON, doc-references) on the files in your push range and
auto-fixes formatting + translations. You don’t need to run npm run lint
manually — the IDE catches BS issues live, and the hook is the backstop
at push time.
If you do want to debug a specific failure locally before pushing, run
the targeted script (e.g. npm run lint:translations) rather than the
whole suite.